How to edit the menu in a WordPress site.
How to edit the menu in a WordPress site.
 A blog is basically an online journal and in the same way as you might choose between a week to a page pocket size diary or a day to a double-page-spread A4 planner there are different types of blog to match your needs.
Tumblr suits short posts, quotes and photographs.
Glogster is creative and lets you create a collage of information rather than a linear block of prose.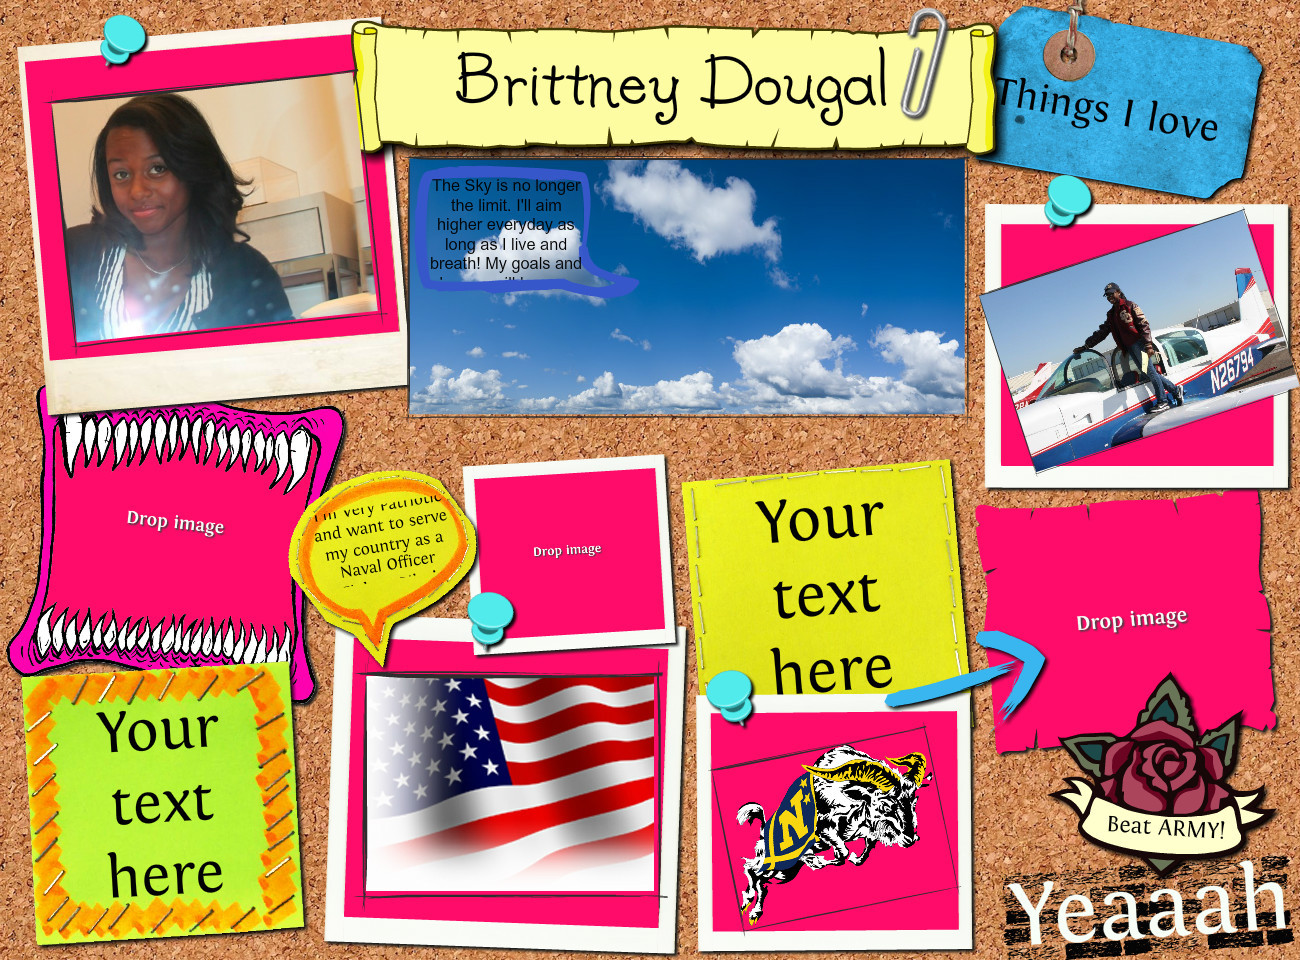
Wordpress has more bells and whistles and depending on the theme you choose can range from a linear diary to a fairly complex interactive website. (This site is basically a wordpress blog.)
For Glogster and Tumblr the best way to get going is to go to the site and follow the onscreen instructions. Details on embedding pictures and videos are included in this section of the book if you get stuck.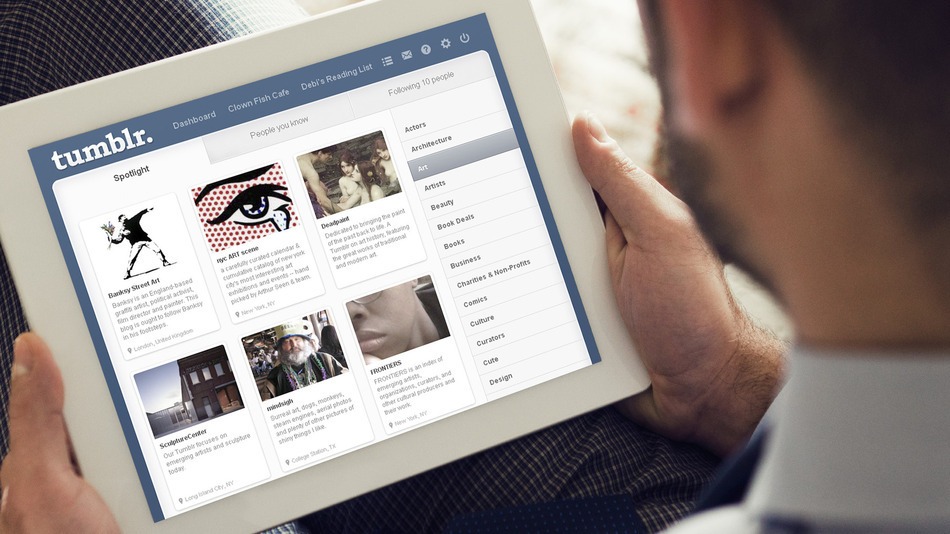
There are two types of WordPress, the easy version www.wordpress.com hosted by wordpress is the best place to start. (If you are looking at setting up a whole school site and want more control over how it looks you can download the software and host a blog on your own server from www.wordpress.org.)
Start by going to www.wordpress.com and following the onscreen instructions, WordPress will guide you to create a Post a Page and a Comment. Posts are used for news, stories, articles, they are the equivalent of a 2 hour slot in your planner. Use them to record what you did in class or provide information about the next topic. Pages are static and are used to provide information which doesn’t change such as something about you, or your class, or your school, or what the blog is about. Comments are there so that other people (parents, pupils, teachers) can give feedback.
Find your dashboard using the link in the top left of the page. There are lots of customisable options but the most important ones for starters are described here. On the left of your screen you should see a menu, Click on Settings>Reading and scroll down to about the fifth item, Site Visibility. Here you will find the option to make your blog private if you wish, this will mean that no one can see your blog unless you have specifically invited them as a follower (see below). It means that when pupils go home and want to show their parents, grandparents, aunts and uncles what they have done, they have to log-in first. It also defeats the object of sharing and collaborating on the web if no one can see what you have done, but the option is there if you or your school have good reason to use it. On the same page you can choose whether you want a static page or your blog posts as the home page, don’t forget to scroll to the bottom to save the changes.
On Settings>Discussion you can choose who is allowed to comment on your blog. Users>Invite New allows you to add followers, contributors, authors, editors or administrators to the blog, so you can set up an account for your class or for individual pupils and allow them to for example create and edit posts.
When you have written a post you can assign categories and tags to it. These are to help you organise and find posts with similar themes. We advise only using one or two categories for each post but use as many tags as you like. Each category (or parent) can have sub categories (children) and if your chosen theme allows it, you can use them to make up a menu bar on the front page. Once you have a few posts and they are assigned to categories, go to Appearance>Menus and drag and drop the categories, pages and tags in the order you want them to be listed. Save your menu and click on your blog title in the top left corner to view the changes.
Appearance>Widgets is where you can add fun things like a Twitter feed or tag cloud to your site.
Type https://twitter.com/ into your browser and follow the onscreen instructons to set up an account. Twitter will prompt you to follow some friends, celebrities, interesting groups etc, it’s a long process but stick with it, Twitter is more fun the more people you follow but do only follow people you are interested in.
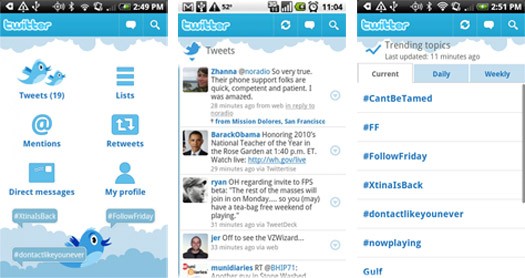
The next step is to tweet a message – maybe introduce yourself to the twitterverse, tweet someone, tweet someone else, retweet something you find interesting and reply to something. Remember that Twitter is public so don’t give away anything too personal and don’t tweet anything you wouldn’t say to your neighbour.
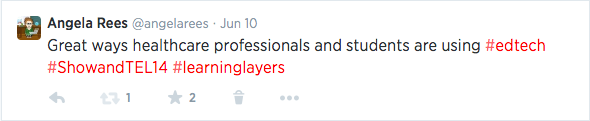
Add hashtags # to key words so that others can easily find what you have written.
You should try to repeat this every day for at least a week, you will begin to build a network of interesting and informative contacts.
Now that you have got the hang of it you can organise your contacts into lists, be careful – the people you add to lists will be informed that they are on a list. My lists include Funny, Friends and Relatives, Ed-Tech, Researchers…
Reasons why you are you doing this;
1. Because this is the place where you really can have a conversation with anyone.
2. Want to find a new way to approach a new topic? There are potentially hundreds of teachers, scientists, health professionals, artists… who can help you out.
3. If you are careful who you follow and use the lists function well you will have a constant stream of customised information.
4. It’s a quick and effective way of both sharing and receiving ideas.
5. Twitter can facilitate your own learning.
6. Still not convinced? Check out e-learning Laura’s blog for a first hand account. http://www.elearninglaura.net/2009/03/29/nine-great-reasons-why-teachers-should-use-twitter/